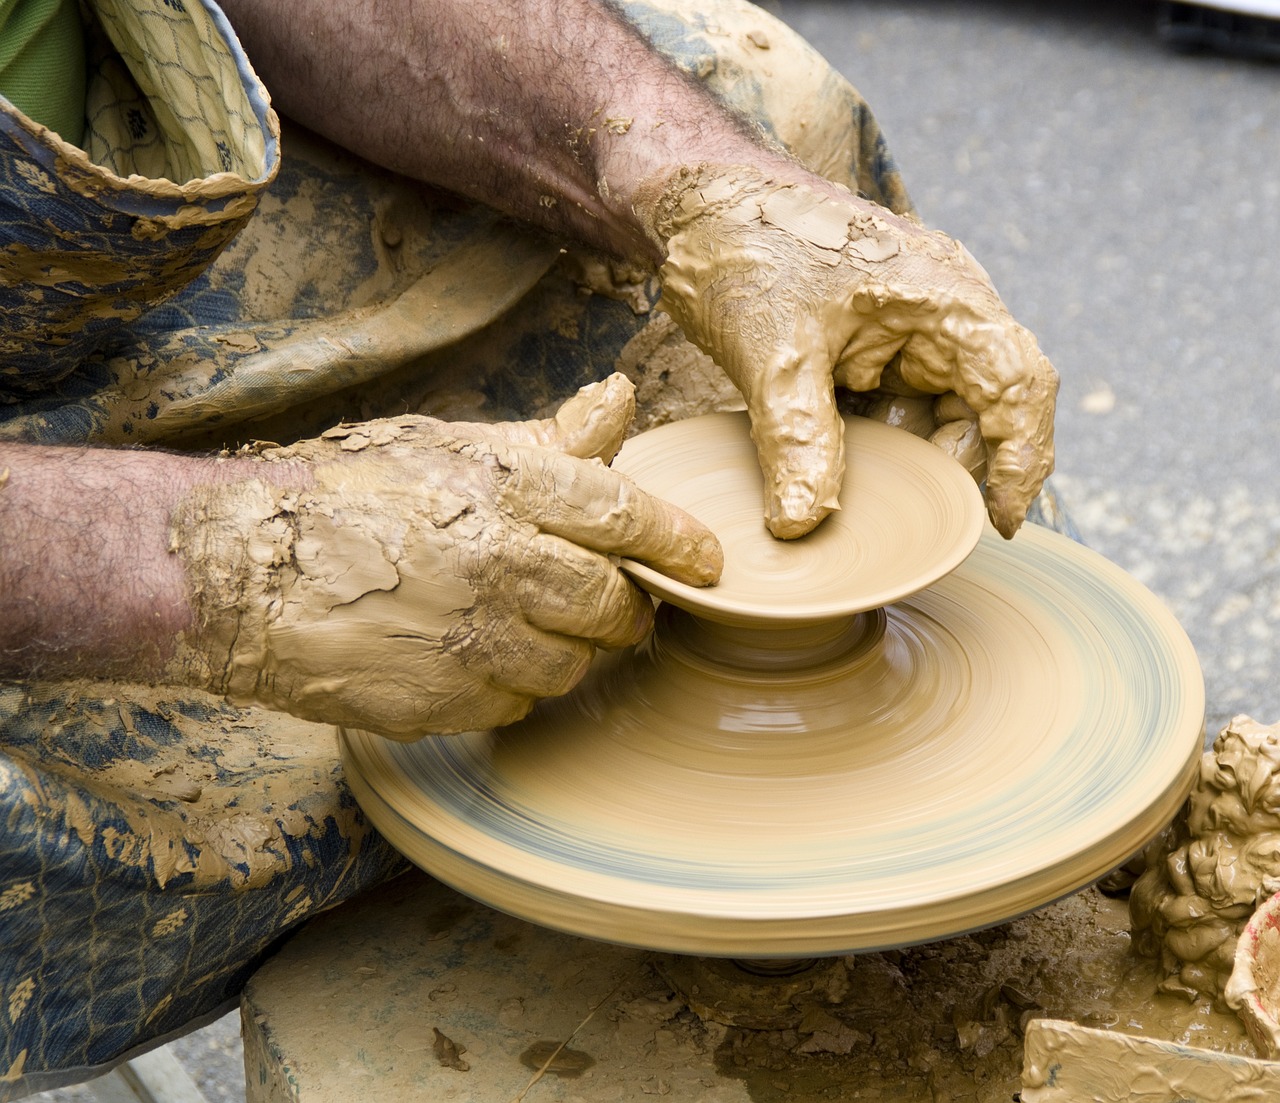
Sculpting at home is a fun and rewarding activity that can help you relax, express your creativity, and even make unique gifts. But what if you don’t have access to a pottery studio or don’t want to spend money on store-bought clay? Then making your own clay at home is the perfect solution!
There are many different recipes for homemade clay, but in this article, we will share two of the easiest and most popular methods. The first method uses common kitchen ingredients, while the second method uses natural clay that you can find outdoors.
Method 1: Kitchen Clay
This method is great for beginners because it requires only a few ingredients that you probably already have in your pantry.
Ingredients:
- 1 cup baking soda
- 1/2 cup cornstarch
- 1/4 cup cold water
- Food coloring (optional)
Instructions:
- In a large pot, combine the baking soda and cornstarch.
- Gradually add the water, stirring until the mixture forms a soft dough. If the dough is too dry, add a little more water; if it is too wet, add a little more baking soda or cornstarch.
- Knead the dough for a few minutes until it is smooth and elastic.
- Add food coloring if desired.
- Store the clay in an airtight container in the refrigerator for up to two weeks.
Method 2: Natural Clay
If you’re feeling adventurous, you can try making clay from natural soil. This method is a bit more challenging than the kitchen clay method, but it can be rewarding if you find the right type of clay.
What you’ll need:
- A shovel
- A bucket
- A strainer
- A rolling pin
- A plastic bag
Instructions:
- Find a place where there is soft, damp clay. Look for areas near rivers, streams, or in low-lying areas.
- Dig up a small amount of clay and put it in the bucket.
- Add water to the clay and mix it with your hands until it forms a thick slurry.
- Strain the slurry through a strainer to remove any rocks or debris.
- Roll out the clay on a flat surface using a rolling pin. The clay should be about 1/4 inch thick.
- Cut out the clay into shapes or use it to mold into whatever you like.
- Let your creations air dry for several days. You can also fire them in a kiln for a more permanent finish.
Tips for success:
- No matter which method you choose, be sure to use your hands to warm up the clay before you start sculpting. This will make it more pliable and easier to work with.
- If your clay is too sticky, you can add a little more cornstarch or baking soda. If it is too dry, you can add a little more water.
- Experiment with different tools and techniques to create your own unique sculptures.
- Have fun! Sculpting is a great way to relieve stress and express your creativity.
With a little practice, you’ll be able to make your own clay at home and create beautiful sculptures that you’ll be proud of.
I hope this article has inspired you to try your hand at making your own clay. With a little creativity and effort, you can create one-of-a-kind pieces that will be cherished for years to come.
Happy sculpting!
Please note that these are just two basic recipes for homemade clay. There are many other variations that you can experiment with. With a little creativity, you can find the perfect clay recipe for your needs.
I would also like to add that it is important to be aware of the safety risks associated with using natural clay. Some clays can contain harmful bacteria or chemicals. If you are concerned about the safety of the clay you find, it is best to buy clay from a reputable source.
Finally, I hope you enjoy sculpting! It is a truly rewarding activity that can be enjoyed by people of all ages.


